How to Generate an Image of your Testimonial
Turn your best reviews into ready-to-post social media graphics — in seconds!
Step 1: Go to Testimonials → Manage
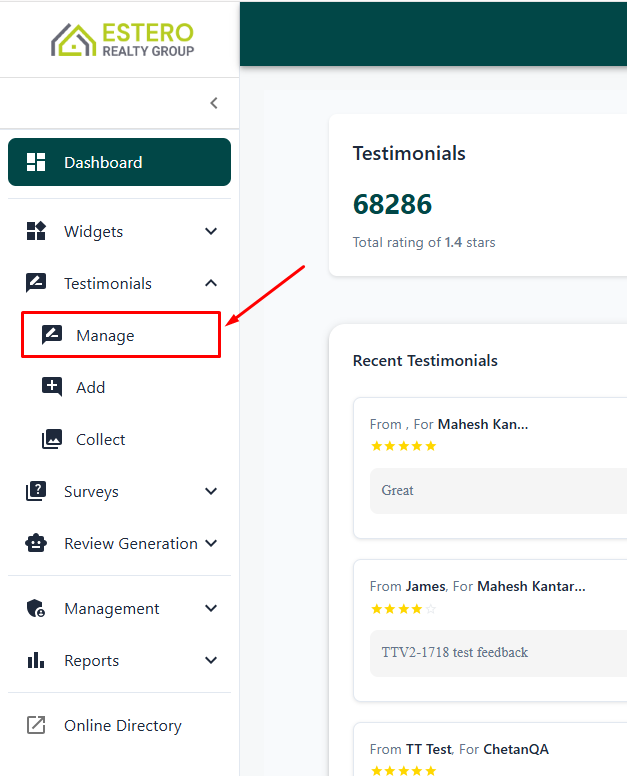
Step 2: Select any testimonial
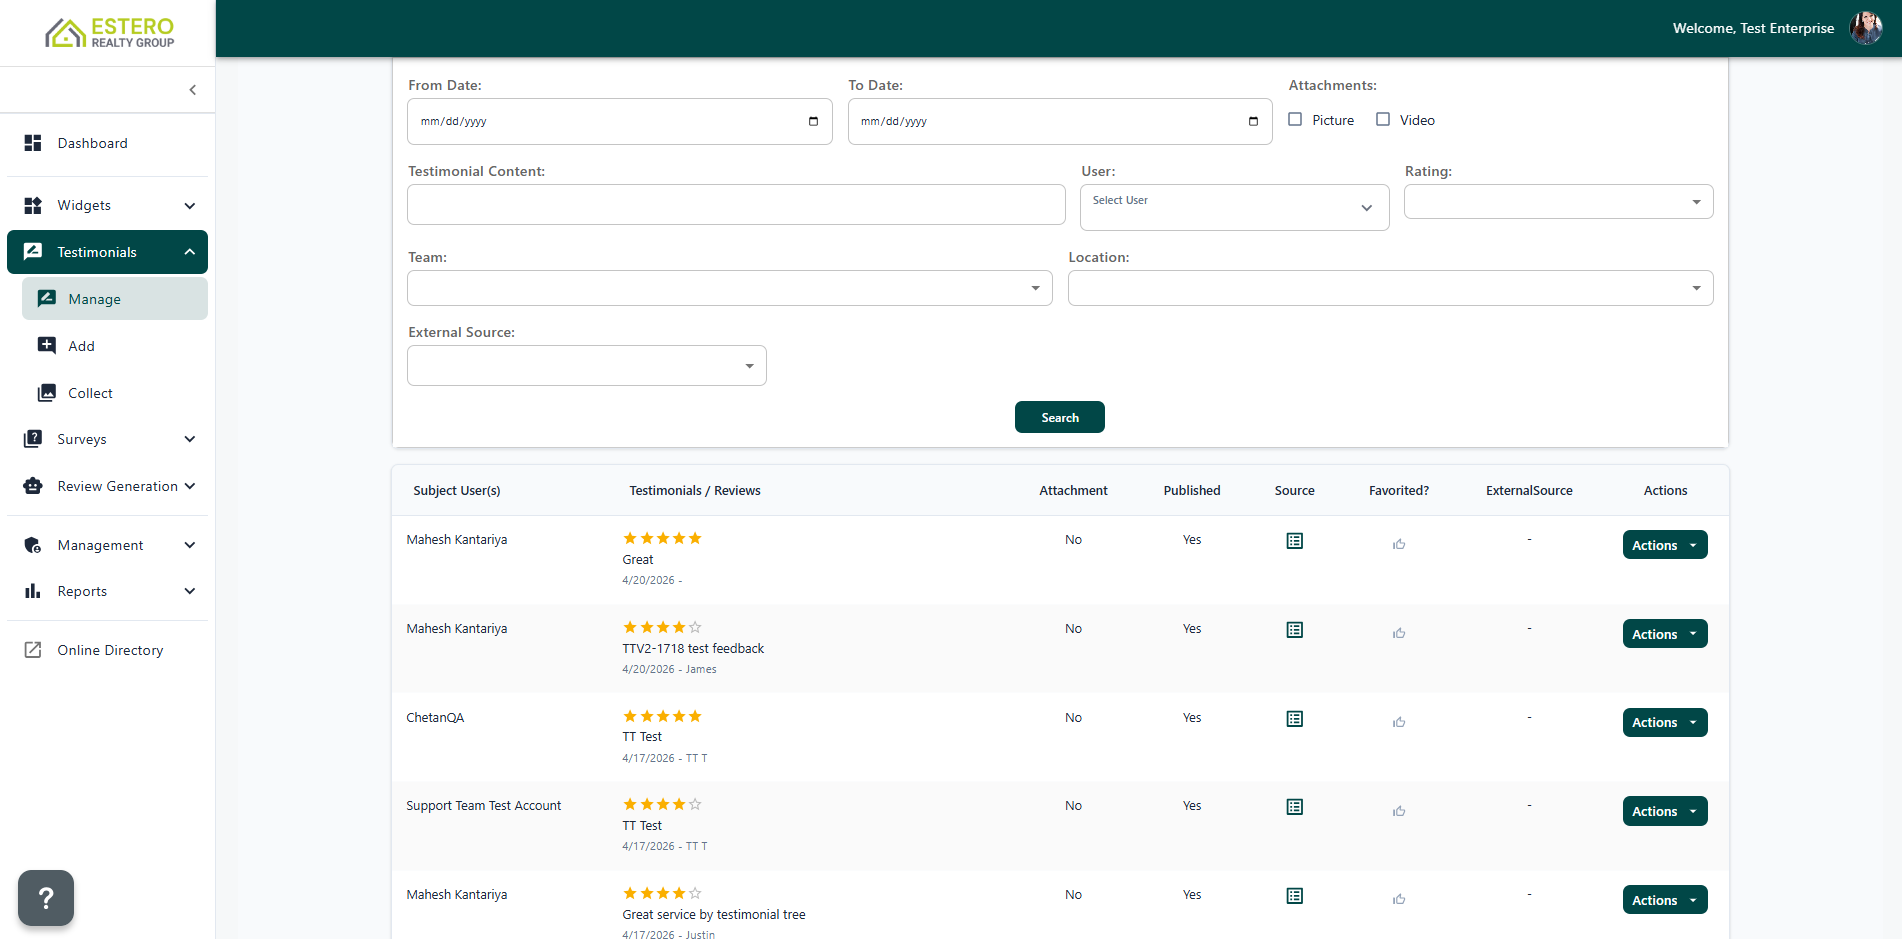
Step 2: Select any testimonial
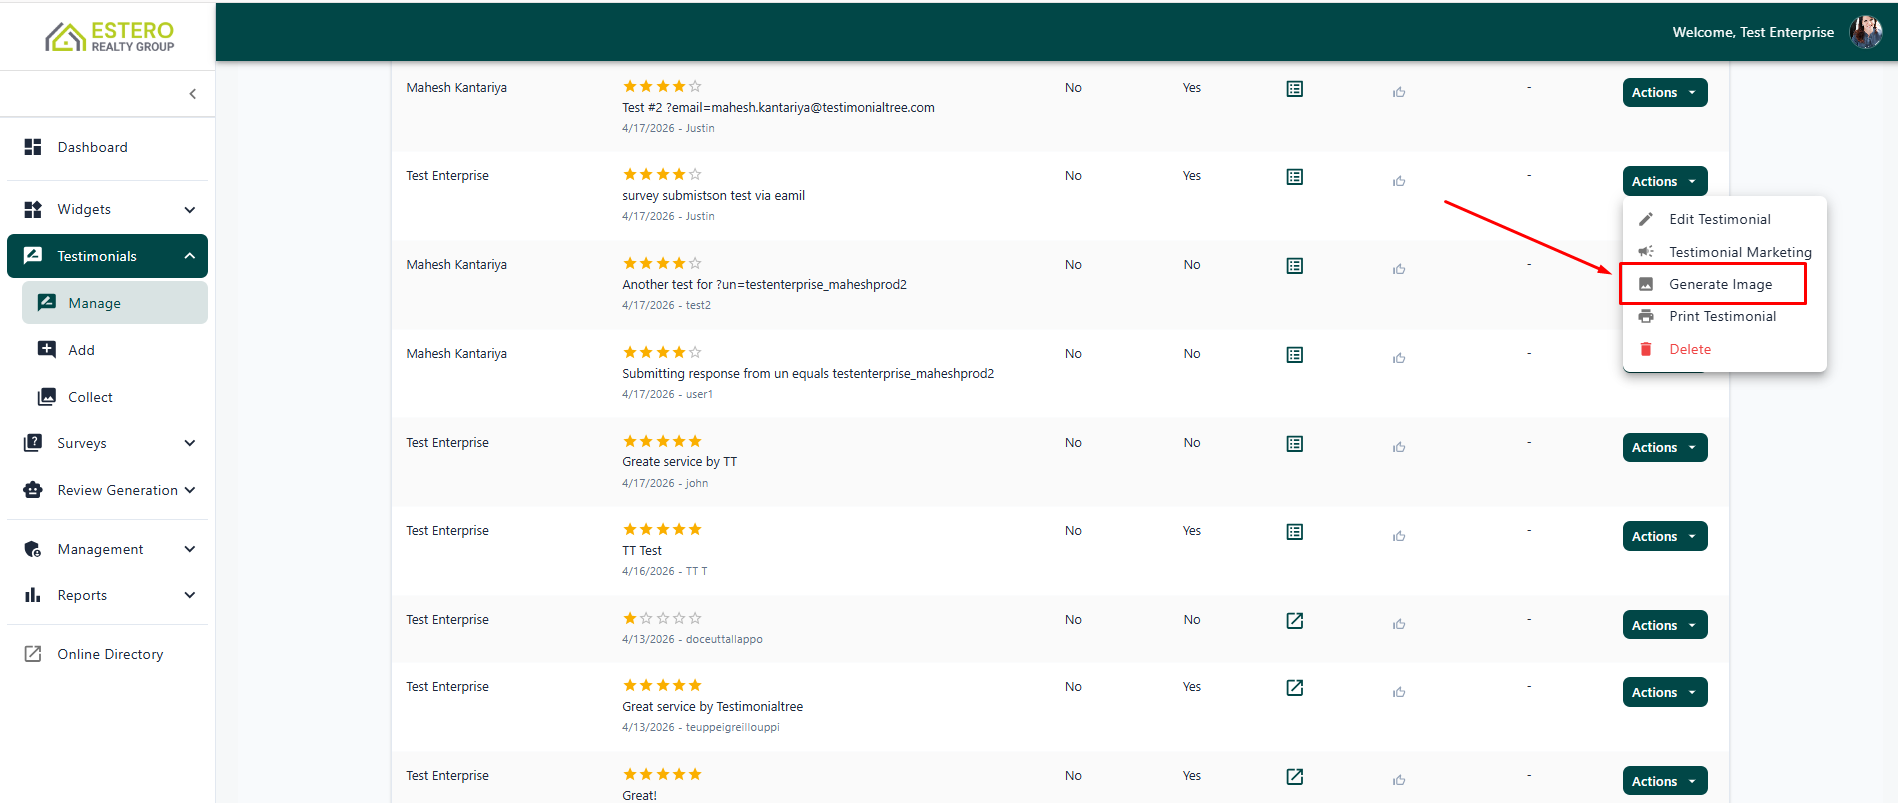
Step 3: Click Actions → Generate Image
Step 4: Customize the image to your liking
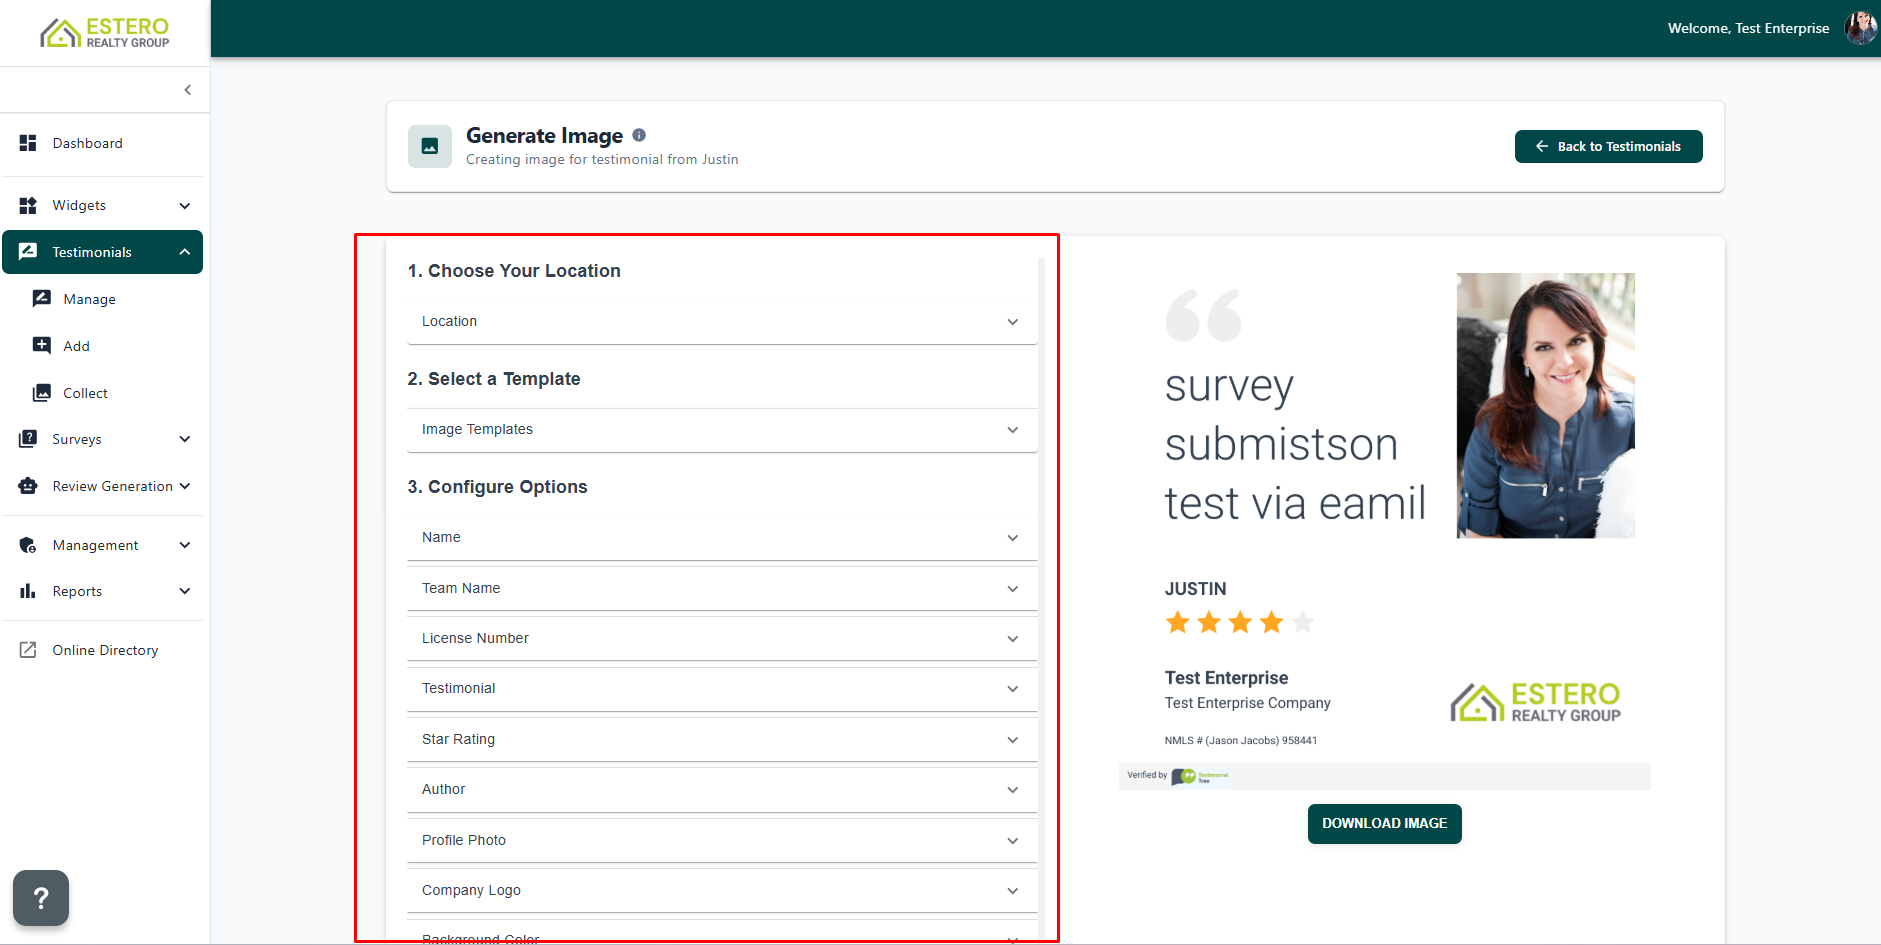
Step 5: Download and post to Facebook, Instagram, and more!
Step 5: Download and post to Facebook, Instagram, and more!
Disclaimer: The procedures and screenshots provided are for reference only. Actual steps and visuals may differ slightly based on software updates, device configurations, or user settings.
Related Articles
Share Testimonials on Social Media Sites
Once you have received a testimonial, you will want to share it on your social media sites to gain more exposure. You're able to share testimonials by using the image generation. Here is a link that review that process create an image and once create ...Agent Image: Integration
Testimonial Tree website widgets work with Agent Image websites. Below are some examples of testimonials and reviews on agent websites. There are several styles available and will produce a snippet of code that can be pasted into the HTML into the ...Delete A Testimonial
If you need to remove a testimonial from your account, you can delete it directly from the Manage Testimonials page. Note: Depending on your parent account’s permission settings, you may not have access to this feature. If the Delete option is not ...How to Unpublish a Testimonial
There may be a testimonial that was shared on your marketing sites or website widgets that you would like to remove. If this occurs, follow the steps below to remove the testimonial. Please note that it can take up to 24 hours for testimonials to be ...How to Collect a Testimonial Via Text
Step 1: From your Dashboard, go to the left-hand navigation menu. Click Testimonials, then select Collect from the dropdown menu. Step 2: The Collect Testimonial Page will open. Click the Send Manual Request button Step 3: Enter Recipient Details ...